(including some example)
“C makes it easy to shoot yourself in the foot; C++ makes it harder, but when you do it blows your whole leg off” (Bjarne Stroustrup)
Firstly i wanna to explain about Qt “What is Qt ?” why I use Qt for create GUI? I know that is the first question that everyone want to know :) Okay let’s go!
#What is Qt?

Qt is much more than just a cross-platform SDK-it’s a technology strategy that lets you quickly and cost-effectively design, develop, deploy, and maintain software while delivering a seamless user experience across all devices. Easily create connected devices, UIs and applications with native C++ performance, Write your source code once, build and watch it run on any operating system and hardware. It’s truly cross-platform, Embrace the complete freedom to design tomorrow’s UIs. Use drag-and-drop tools, declarative QML or imperative C++ — the choice is yours, You can design your UI, write your code and much more in one cross-platform IDE. (https://www.qt.io/)
#Step 1: If you already install Visual Studio than just go to this URL https://www.qt.io/download
Download the open source version of Qt(Latest version is 5.10.1) that is suitable for your operating system. this will be automatically detected.
#Step 2: Start the installation. When asked for username, you have the option to skip that step and make sure you install the prebuilt components for the compiler you are using (MSVC2017/ MSVC2015), sources, charts and data visualization component and debugger support like this:

Now you have scroll down and select Tools, Qt Source, Qt chart and also Qt Data Visualization.


#Step 3 : Download and install the Qt Visual Studio Tools from : https://marketplace.visualstudio.com/items?itemName=TheQtCompany.QtVisualStudioTools-19123
#Step 4:
Open Visual studio, if the Qt VS Tools were correctly installed, you should find a new menu item “Qt VS Tools”.

#Step 5:
Add the path towards the components for the compiler: Qt VS Tools -> Qt Options-> Add button, Use the folder where you installed Qt

#Step 6:
Done! Restart Visual Studio and than let’s see how to create a new Qt project.
Creating A new Qt Project With VS STUDIO 2017
- From the VS menu, select “File” -> “New” -> “Project”.
- In the left-hand column of the “New Project” window, under “Visual C++” select “Qt”. In the middle column, select “Qt GUI Application”. Add a name and a location and then press “OK”.

3. In the following dialogs, keep the default settings (Next -> Next -> Finish).
4. In the “Source Files”, a file “main.cpp” should already be created (other .cpp, .h and .ui files will also be created).
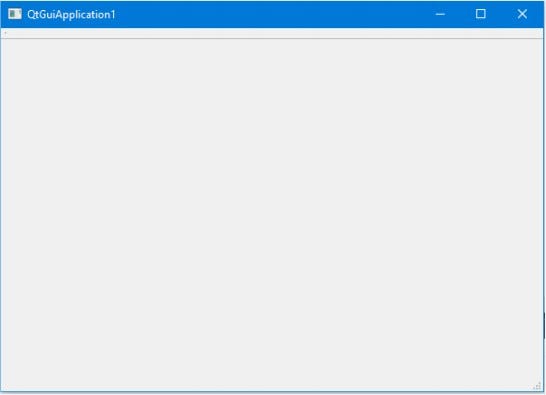
5. Run the application. You should see an empty window:

Now! It’s Done for create a Qt Project. :) See you Next Blog! (How to build GUI Using C++ with Qt Platform)
Reference : https://www.qt.io/
